Carrot Stew

Monday, November 14, 2011

Fall Decorating on a Budget


Need a mini-face lift for fall? Go to your nearest TJ Maxx, Ross or Marshalls and snag a birdcage. They are great for little vignettes....I took a decoupaged letter from Hobby Lobby (around $2) and a few thrift store finds and filled with moss and shredded book pages from old foreign language books that were also thrifted. (Gasp!) I can't read French, so they make pretty decorations! I googled them...no worries they aren't precious rarities:) You can also do this with dollar store books...just paint the edges of the books black before using for an "old" or "vintage" look!


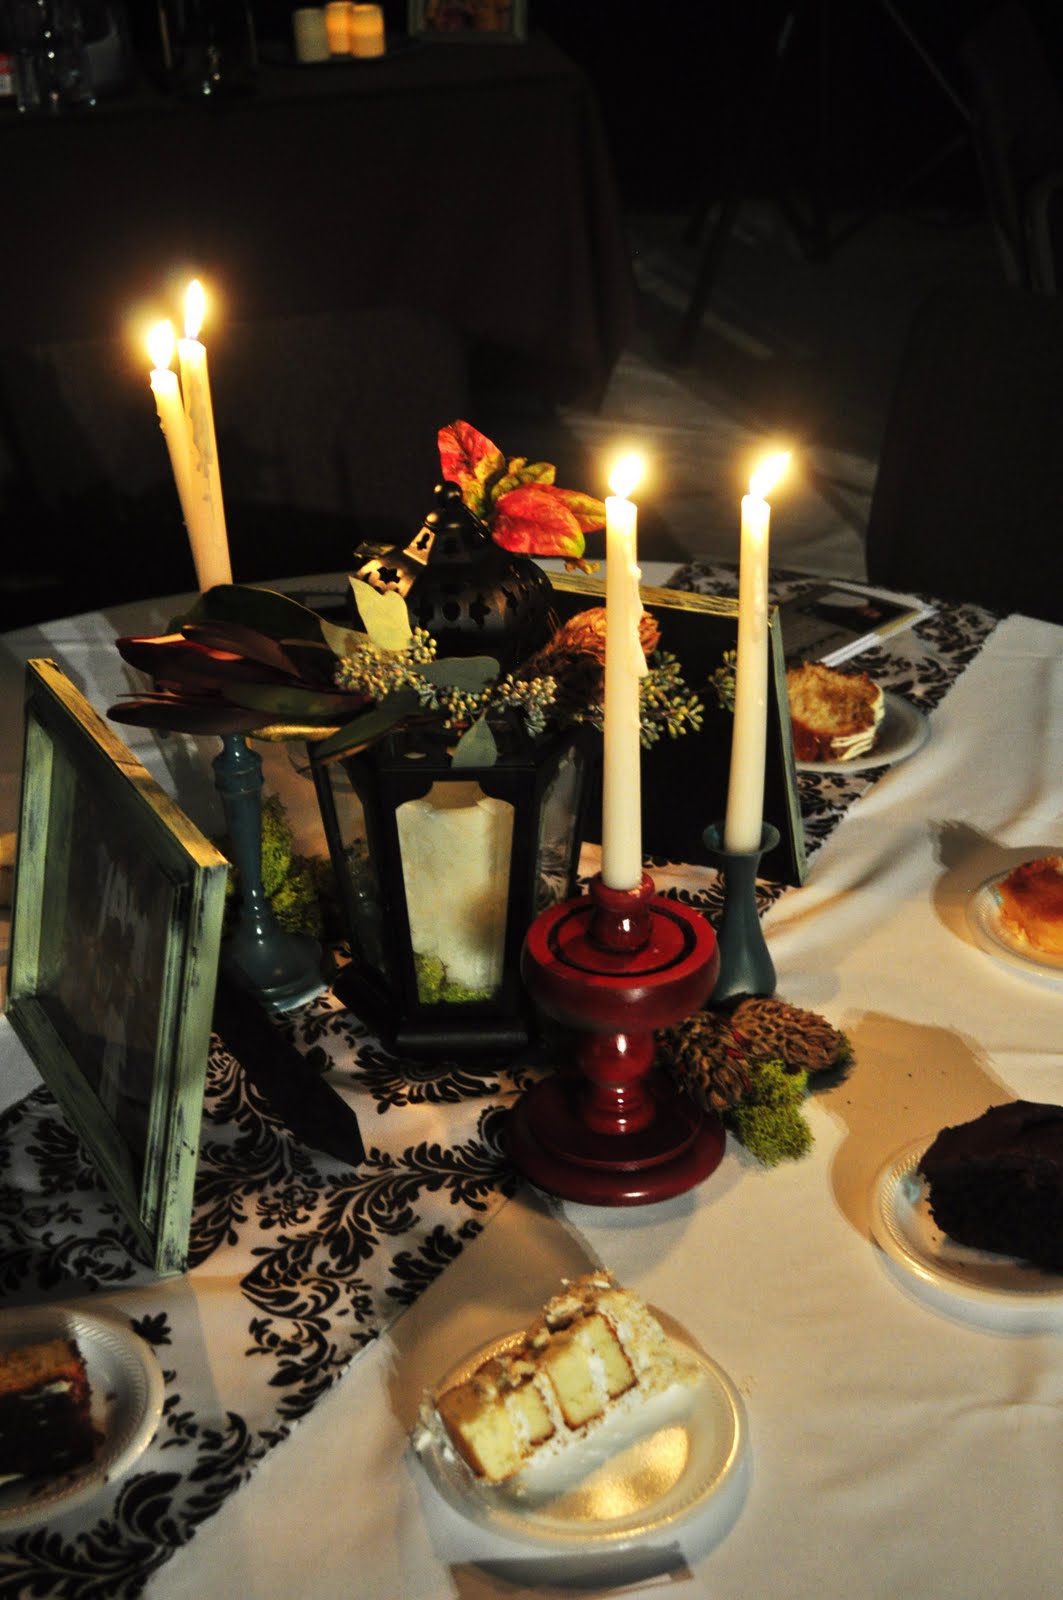
These gems were old brass candlesticks purchased at, you guessed it, thrift stores and garage sales for about 25 cents each! I painted them with spray paint, roughed them up a bit and then applied some dark stain! Adds a pop of color for a few dollars!


Not sure what to do with your Thanksgiving table? Grab some Pumpkins at Hobby Lobby while they are about 66% off and grab a few yards of Burlap with that 40% off coupon. Cut the ends into strips and tie into knots for an instant farmhouse table runner. Grab a few of those brass candlesticks and paint them off white. Any leftover pumpkins? Spray them white too if they are still in good shape! Look around your neighborhood and trim some fresh evergreen, or other pretty greenery and place around your items. Instant table scape for very little cash!


Wednesday, November 9, 2011

Uganda Journey Benefit

I had lots of fun doing the decorating for a Benefit for some sweet friends who are missionaries in Kampala, Uganda. We had about 20 tables, so fortunately I had some talented volunteers to come and help with the setup. My friend Amanda was in charge of the Benefit and she recruited me for the decor. I met with a local florist and chose flowers for the arrangements, then re purposed lots of brass candlesticks with paint, distressing and a bit of glaze to make them look aged. I painted some old shutters for jewelry display for the Aggie's Arts segment of their ministry. (If you are interested in purchasing some of the handmade jewelry or handbags, contact me. All proceeds go towards helping women in the slums of Kampala and also go towards Kisoro kids, a school there in Uganda for the children). I used lots of candles, greenery and moss with lanterns. Amanda made the frames, with pictures of locals in Kampala, and we placed those on each table. I painted a few pieces for the welcome station, and also for the buffet to hold plates, etc. Lots of fun for a great cause!


Monday, November 7, 2011

Ruffled Burlap Pillow Tutorial

Burlap and ruffled pillows are everywhere these days, so I decided to throw one together with some scraps I had.

Supply list:

Pillow form (I used 24x24 from Joann's)

A piece of muslin cut roughly 2 inches bigger than your pillow form (26x26 in my case)

burlap, (enough to cut a 26x26 square for the back and then 9-10 strips roughly 34" long and 3-4 inches wide...hey this isn't an exact science!)

a contrasting fabric (enough to cut at least 10 strips twice the width of your pillow (mine were about 48" long) and 3" wide)

sewing machine and thread!


Here is a pic of the strips I cut to use on the pillow. As you will note, the burlap ones aren't as long, because they are so stiff and I didn't ruffle them as much. If you are OCD do not attampt this project. It is messy and I am sooo not a perfectionist. I think it lends character to the project **wink** wink** :)


Start by pinning the first strip on to your muslin square. Begin at the bottom and work your way up to avoid a major headache. (I started with the fabric) and folding/pining as you go to create the ruffles. I forgot to take a pic of the pining process, but here is a pic of some of the ruffles already sewn onto the muslin. Pretty straightforward....just sew the pieces straight on, alternating as you go. It would be pretty with lots of different prints as well, very Anthro.


A closer shot of the ruffles as they are sewn. Hey, don't judge, I am no seamstress:) If I can do this you can do this! As you can see you will need to trim later. If you want to add some stop-fray to the edges or even dilute a little Elmer's glue and apply lightly to the edges, this will prevent fraying as well.

Keep stitching until all ruffles are in place. Take your piece of Burlap that you cut to fit and sew to the ruffled side of the pillow. Sew around 3 sides and then turn inside out. I know you would normally just leave a little hole to turn it right side out, but believe me, this is bulky and you will save yourself a meltdown by doing it this way. After it is right side out, place your pillow form inside and hand stitch it closed! Isn't it lovely? You should be proud!


Finished pillow....thanks for viewing!

~Emily